


Imagine soaring through the skies, capturing the heat signatures of your surroundings while controlling it all from a pocket-sized marvel. The Raspberry Pi Zero, a compact powerhouse, is making waves in the drone world, and it’s not just for techies anymore. If you’ve ever dreamed of creating your own thermal drone but thought you’d need a degree in engineering, think again. With just a little guidance, anyone can harness this affordable technology for incredible aerial applications. Buckle up, this is not just another flight: it’s a chance to explore new dimensions with your potential.
Overview of Raspberry Pi Zero for Drones
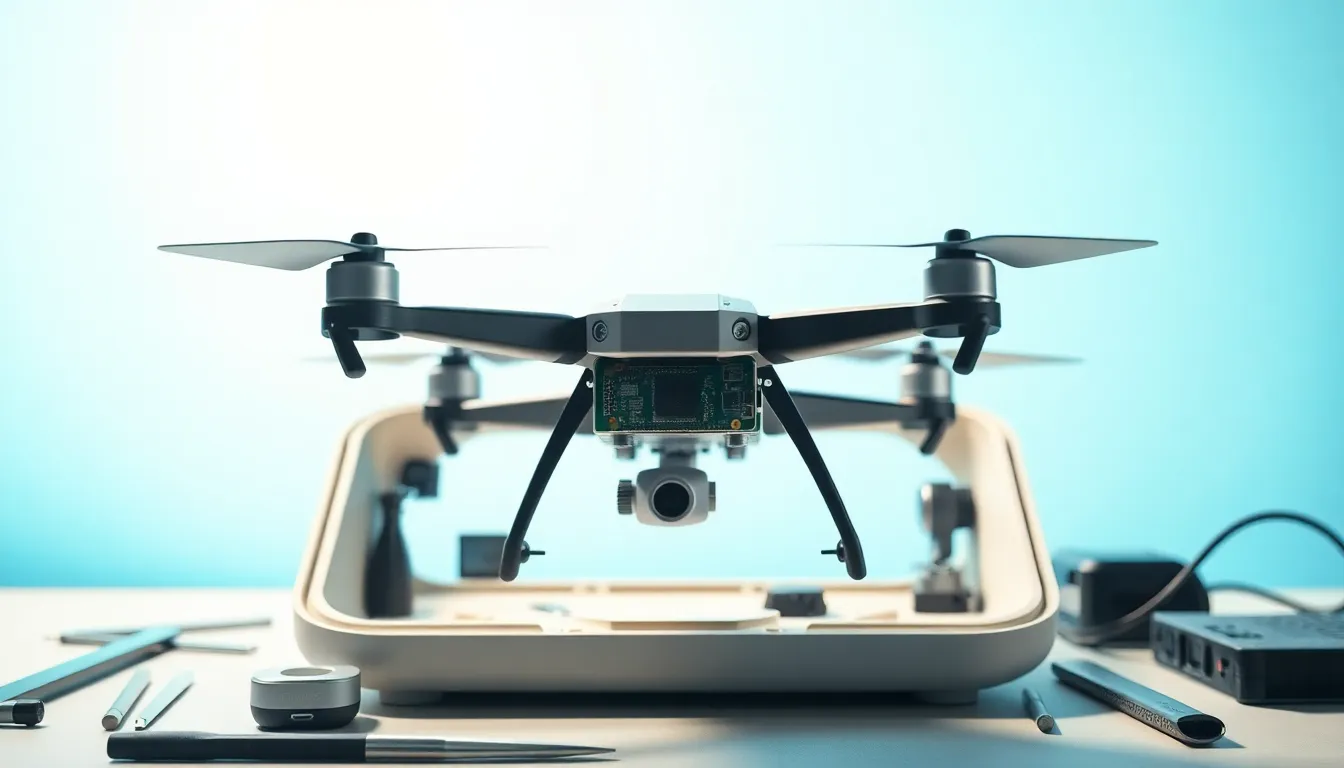
The Raspberry Pi Zero is a game-changer for aviation enthusiasts and tech innovators alike. This tiny board, measuring just 65mm x 30mm, packs a punch with its versatility and power. Its lightweight design makes it an excellent fit for drones, where every gram counts. Designed with an ARM-based processor, it runs a variety of operating systems, making it compatible with numerous applications that enhance the drone’s functionality.
Also, the Pi Zero boasts built-in Wi-Fi and Bluetooth capabilities, allowing for seamless communication between the drone and the user. This eliminates the need for additional components, streamlining the overall build. With its affordability, often priced at less than $15, friends, hobbyists, and professional developers can readily invest in experimenting with this innovative hardware.
Benefits of Using Raspberry Pi Zero in Drones
The benefits of incorporating Raspberry Pi Zero into drone technology extend far beyond its size.
- Cost-Effectiveness: Traditional drone systems can be expensive, often costing hundreds or thousands of dollars. With a Raspberry Pi Zero, developers can build functional drones at a fraction of that cost, making aerial technology accessible to more individuals.
- Flexibility in Design: Its modularity allows engineers to customize their builds. Whether it’s modifying flight dynamics or integrating various sensors, the Pi Zero can adapt easily to meet specific project requirements.
- Enhanced Functionality: The ability to interface with numerous sensors, including GPS modules, cameras, and thermal imaging devices, transforms an ordinary drone into a multifaceted tool for various applications.
- Community Support: The Raspberry Pi community is vast and helpful. For enthusiasts and developers seeking advice, tutorials, or components, this network provides invaluable resources.
With such extensive advantages, it’s no wonder that more drone enthusiasts are turning to Raspberry Pi Zero.
Thermal Imaging Technology and Its Applications
Thermal imaging technology measures heat emitted by objects, allowing for detailed analysis in various fields. This invisible spectrum has many practical applications:
- Search and Rescue Operations: Drones equipped with thermal cameras assist first responders in locating individuals in emergency situations, even under challenging weather conditions.
- Agricultural Uses: Farmers use thermal imaging to monitor crop health, identify irrigation needs, and detect pests or disease early.
- Building Inspections: Inspectors can assess for heat loss or insulation issues in buildings, leading to improved energy efficiency and potential cost savings.
- Wildlife Monitoring: Conservationists leverage thermal drones to observe nocturnal animals without disturbing their natural habitat.
As the prices of thermal cameras continue to drop, the integration of this technology into affordable drone systems is revolutionizing how industries operate.
Building a Raspberry Pi Zero Thermal Drone
Creating a Raspberry Pi Zero thermal drone involves gathering the right components and following a methodical assembly guide. Here’s a breakdown:
Components Needed for Your Build
- Raspberry Pi Zero: The brains of the operation.
- Thermal Camera: FLIR Lepton is a popular choice for its compact size and effectiveness.
- Drone Frame: Depending on your design preferences, various options are available, including ready-made frames.
- Propellers: Select according to the drone’s weight and design.
- Flight Controller: Essential for navigational control. Options like the KK2.1 or APM series work well.
- Battery: A lightweight yet powerful LiPo battery should suffice for good flight time.
Step-by-Step Assembly Guide
- Prepare the Frame: Start by assembling the drone frame according to the manufacturer’s instructions.
- Install the Flight Controller: Secure it in the center of the drone.
- Attach the Raspberry Pi Zero: Use non-conductive mounts and ensure it’s secured properly.
- Integrate the Thermal Camera: Mount the camera to a stable position with a clear line of sight.
- Connect Power and Data Cables: Ensure all components are wired correctly: this step is crucial for functionality.
- Final Check: Go through all connections to guarantee everything is secure and functions as intended.
Programming Your Raspberry Pi Zero for Thermal Imaging
Programming the Raspberry Pi Zero for thermal imaging might sound daunting, but it’s quite manageable with the right resources.
The primary programming language used is Python due to its simplicity and extensive library support. Here’s a general guide:
- Install Raspbian: Start by setting up your Raspberry Pi with the Raspbian operating system.
- Install Required Libraries: Use pip to install libraries such as OpenCV for image processing and Flask for a potential web interface.
- Write Code for the Camera: Develop a script to interface with the thermal camera, capturing images and processing them for real-time analysis.
- Carry out User Control: Incorporate controls to manage the drone’s flight and monitoring capabilities remotely.
- Test Your Setup: Run your code with all components connected to ensure everything integrates smoothly.
Testing and Calibration of Your Drone
Before taking your thermal drone for a spin, thorough testing and calibration are crucial.
- Check Firmware: Ensure the flight controller has the latest firmware installed, enhancing performance and stability.
- Conduct Ground Tests: Test the drone’s controls without launching, checking responsiveness and hardware operation.
- Calibrate Sensors: Follow the manufacturer’s guidelines to calibrate the thermal camera and any other sensors you’ve installed.
- Practice Flying: Start with a controlled environment: practice basic maneuvers to get a feel for the flight dynamics.
- Evaluate Imaging: Capture images using the thermal camera to assess performance. Adjust settings as necessary to enhance image clarity.
Real-World Applications of Thermal Drones
The potential applications for thermal drones are virtually limitless. From low-altitude agricultural surveys to industrial inspections, the versatility of thermal imaging is unmatched.
- Fire Prevention: Firefighters can use thermal imaging to detect hotspots in burning structures before they become catastrophic.
- Environmental Conservation: Monitoring wildlife populations effectively aids conservation efforts and informs better management strategies.
- Infrastructure Management: Inspecting power lines or pipelines through thermal imaging can prevent significant hazards before they arise.
- Health and Safety: Healthcare facilities use thermal drones to monitor large crowds for elevated body temperatures, a useful strategy for controlling pandemics.
As the technology evolves, more industries will adopt thermal drones, underscoring their monumental impact.