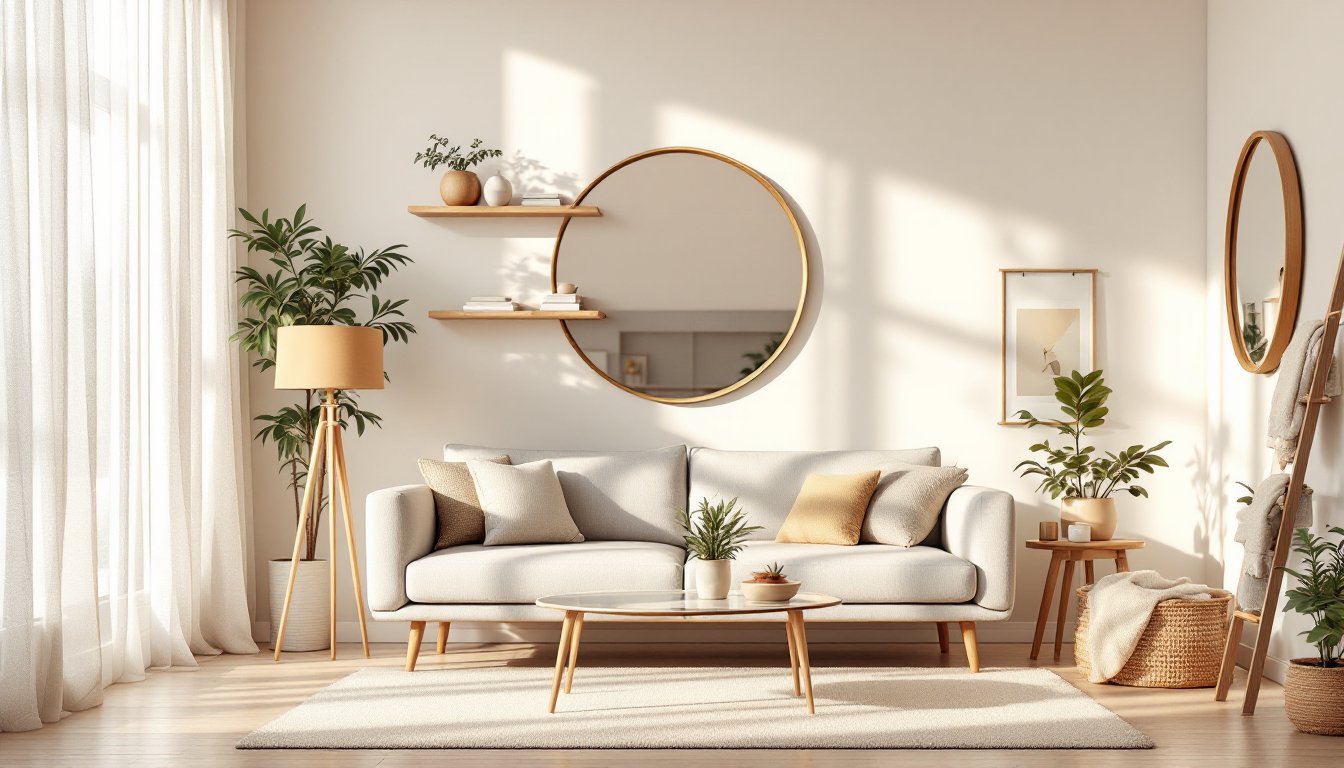

A living room ceiling isn’t just overhead real estate, it’s the fifth wall that sets the tone for your entire space. Whether you’re updating a flat expanse of white drywall or planning a dramatic transformation, ceiling design choices directly impact how a room feels: taller, cozier, modern, or timeless. In 2026, homeowners are moving beyond basic drywall and exploring practical ceiling upgrades that combine visual interest with function. This guide walks you through modern styles, color strategies, achievable DIY upgrades, and smart lighting integration to help you choose and execute a ceiling design that fits your budget and skill level.
Table of Contents
ToggleKey Takeaways
- Living room ceiling design goes far beyond aesthetics—it impacts how a space feels, from height perception to coziness, making it essential to plan with intention and your budget in mind.
- Coffered and tray ceilings offer modern architectural depth without major structural work; faux coffer kits provide visual impact at lower cost, while tray ceilings deliver a middle ground between simple flat designs and costly vaulted options.
- Color and finish matter: light neutrals feel airy, dark accent ceilings create coziness (best in rooms 9+ feet high), matte finishes hide imperfections, and warm whites complement wood beams while cool whites pair with contemporary furnishings.
- Layered lighting—combining recessed lights on dimmers, pendant fixtures, and cove lighting—transforms ceiling design from decorative to functional while hiding wiring before drywall installation avoids costly retrofits later.
- DIY ceiling projects like painting or adding faux beams are achievable weekend work, but structural changes like vaulted or tray ceilings require permits, professional framing knowledge, and careful planning of electrical rough-in before finishing.
- Always check local building codes and electrical requirements before starting; verify whether your project needs permits and ensure at least one light switch-controlled fixture per room meets code requirements.
Modern Ceiling Styles for Every Budget
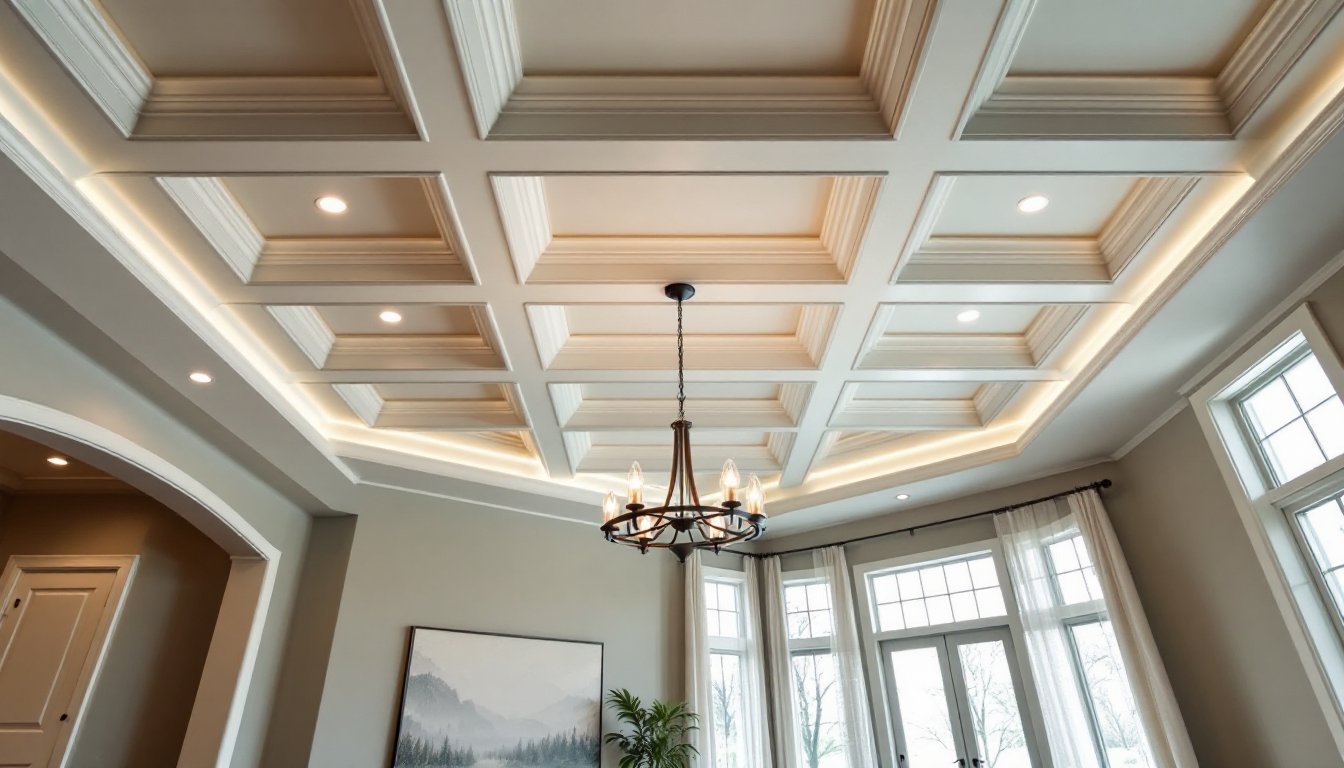
Contemporary Flat and Coffered Ceilings
A flat ceiling remains the workhorse of living room design, but finish and detail matter. Standard drywall and paint is affordable and low-maintenance, but coffered ceilings, grids of exposed beams or faux beams set into recessed panels, add architectural depth without major structural work. Coffered designs create shadow lines that make a room feel more refined and intentional.
True coffered ceilings involve installing a grid of wood beams or prefabricated panels, then filling recessed areas with drywall. This requires careful layout planning and framing knowledge: many homeowners hire a contractor for this work. Alternatively, faux coffer kits (polyurethane or composite beams) install over existing drywall much more simply, cutting installation time and cost. They won’t support structural loads but deliver the visual impact at a fraction of the price and effort.
Flat ceilings paired with strategic texture, think brushed finish or matte paint, also work well in modern spaces, especially when contrasted with darker walls. The key is intentionality: choose a finish that complements your wall color and lighting.
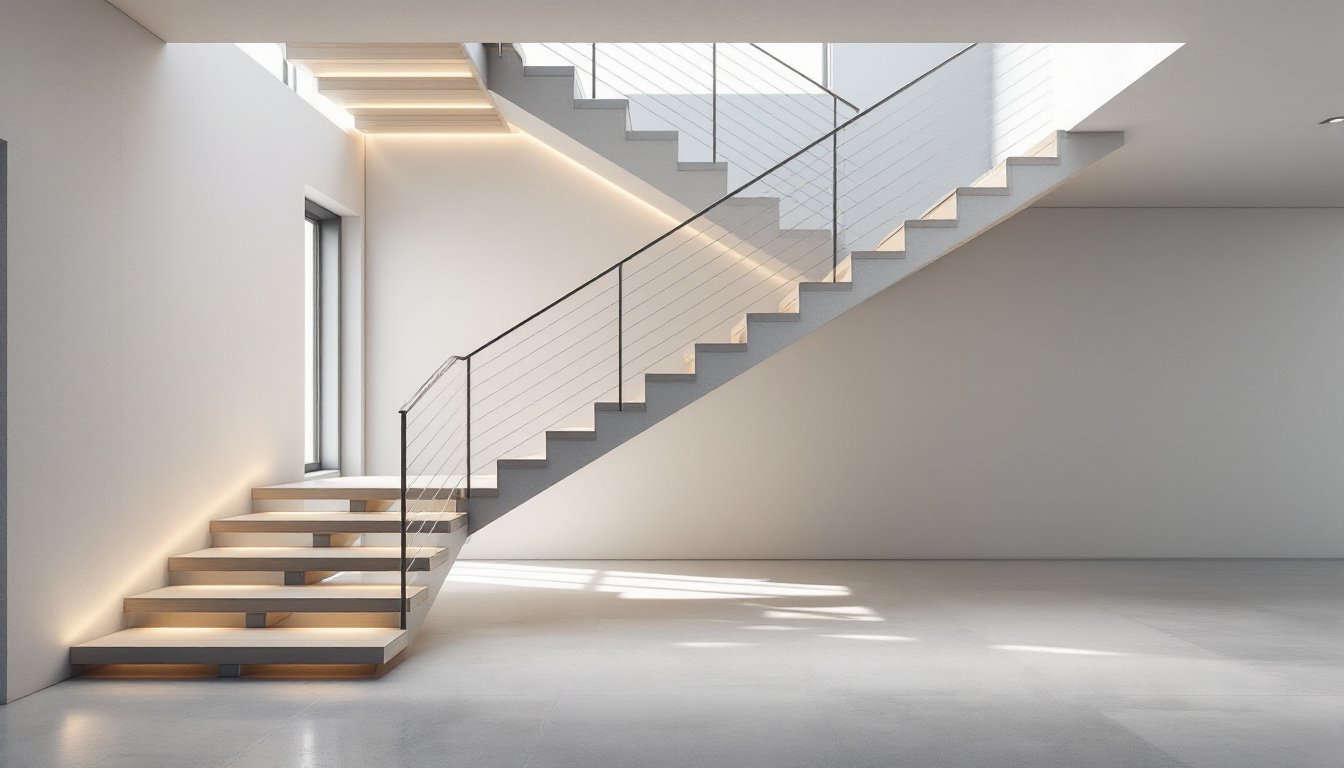
Vaulted and Tray Ceiling Designs
Vaulted ceilings open up a room visually and work especially well in homes with higher wall framing. They demand framing work (removal of a load-bearing wall or structural modification) and always require engineering and permits. A vault is a significant project: unless you’re already doing major renovation work, it’s usually contractor territory.
Tray ceilings offer a middle ground. A tray (or trey ceiling) is a recessed rectangular or stepped inset in the ceiling plane, typically 12 to 24 inches deep. It creates shadow depth and visual interest without requiring full structural changes. A tray ceiling can be built by lifting the drywall frame in one area of the room and adding soffit trim or lighting cove around its perimeter. This is an intermediate DIY project requiring solid framing knowledge and precision cutting, though it’s definitely doable for confident builders.
Color and Finish Options That Enhance Your Space
Not every ceiling must be white. Contemporary design embraces soft grays, warm creams, and even muted accent colors overhead.
Matte and eggshell finishes are the default for ceilings because they hide imperfections and reduce glare better than glossy finishes. When painting ceilings, primer is mandatory, ceiling areas often develop mineral deposits or slight stains that bleed through without it. Plan on one coat of quality primer and two coats of ceiling paint. Expect coverage of roughly 350 square feet per gallon: measure your room and buy accordingly.
Light neutral ceilings (whites, soft grays, pale creams) feel airy and work in most modern and traditional homes. Darker accent ceilings, deep charcoal, navy, or warm taupe, can ground a space and make it feel cozier, though they work best in rooms with decent ceiling height (at least 9 feet) and good natural light. Dark ceilings in smaller, lower rooms can feel claustrophobic.
Warm whites and creams complement natural wood beams or exposed structural elements. Cool whites pair better with contemporary furnishings and metal fixtures. Think about your overall color palette before committing. A ceiling color swatch on poster board, propped on a broom handle and held overhead in different lighting, helps you visualize the effect.
Textured finishes, popcorn ceilings, skip-trowel, or knockdown texture, were popular in past decades but are falling out of favor in modern design. They’re also harder to paint or modify later. Smooth drywall finish remains the easiest to maintain and repaint.
DIY Ceiling Upgrades and Installation Tips
Before any overhead work, cover furniture and floors with plastic sheeting and wear safety glasses and a dust mask. Drywall dust and paint drips are inevitable.
For painting, invest in a roller extension pole (typically 4 to 6 feet) and a high-quality roller cover (3/8-inch nap for smooth surfaces, 1/2-inch for textured). Cheap rollers shed fibers and create streaks. Work in overlapping W-patterns to avoid lap marks. Two thin coats beat one thick coat every time.
If installing a tray ceiling or running new framing, locate studs and joists with a stud finder before cutting. Drywall fasteners (screws, not nails) should space every 16 inches along studs and joists. Use 2½-inch drywall screws for standard ½-inch drywall. Predrilling slightly eases installation and reduces popping later.
For adding faux beams or decorative elements, painter’s tape helps you mark grid lines and ensures straight edges. Adhesive-backed trim and molding kits skip fastening but require a clean, dust-free surface for proper bond. Wipe the ceiling with a tack cloth (lint-free cloth slightly dampened with tackifier) before applying adhesive products.
Expect minor imperfections, ceilings are forgiving. Small gaps hide under paint: joint compound smooths transitions. Larger mistakes (holes, cracks deeper than ¼ inch) require patching compound and sanding, then primer and paint over the repair.
Research local building codes before starting. Structural work on vaulted or tray ceilings, or any changes to load-bearing elements, typically require permits and inspection. Your permit office can clarify whether your project falls into that category. Some ceiling jobs, like painting or adding nonfunctional faux beams, usually don’t require permits, but rules vary by jurisdiction.
Lighting Integration and Functional Design
Ceiling design and lighting are inseparable. A beautiful ceiling without thoughtful light fixtures is like a stage set with no spotlights.
Recessed lighting (also called cans or downlights) integrates flush with drywall and provides clean sight lines. They’re essential in flat and tray ceilings and come in various color temperatures. 3000K color temperature (warm white) feels inviting in living rooms: 4000K (neutral white) suits modern spaces. Install recessed lights on a dimmer circuit for flexibility: bright task light for reading or games, softer ambiance for relaxation.
Pendant lights and chandeliers add visual interest and focus. Hang pendants 12 to 18 inches below ceiling level for a proportioned look: this also helps avoid head bumping in spaces with lower ceilings. Ensure wiring runs behind walls or through a ceiling cavity before patching drywall, hiding electrical work later becomes expensive.
Cove lighting, LED strips tucked into a tray ceiling’s perimeter or a crown molding recess, creates a soft halo effect and makes a room feel larger. It’s subtle ambient lighting, not primary task light, but the effect is genuinely calming in living rooms. LED strips are low-heat, energy-efficient, and simple to install if a channel is already framed: hardwiring them through a dimmer adds polish.
A living room typically benefits from layered lighting: ambient (overall brightness), task (reading or focal areas), and accent (highlighting architectural details). Your ceiling design should accommodate multiple light sources. When planning a remodel, rough-in electrical before drywall goes up. Retrofitting wiring into finished ceilings is tedious and may require cutting access holes or running surface-mounted conduit, both less elegant than built-in planning.
Building codes require that every habitable room have at least one light switch–controlled fixture. Most jurisdictions allow this to be a ceiling light or a switched outlet controlling a table lamp. Check your local electrical code (typically the NEC, National Electrical Code) for specifics.
Conclusion
Your living room ceiling is an opportunity, not an afterthought. Whether you’re repainting, adding trim, installing a tray, or committing to structural changes, start with a clear vision of your style, budget, and timeline. Paint and basic finish changes are solid weekend projects: framing and electrical work may demand professional help or at least a second pair of hands and some study time. Browse examples on sites like Homedit or MyDomaine for inspiration, but ground your choices in the practical constraints of your space, ceiling height, natural light, and your honest DIY skill level. A well-designed ceiling makes the room feel intentional and complete.