

A well-designed TV wall does more than house your screen, it anchors the entire living room aesthetic and function. Whether you’re mounting a flat-screen for the first time or reimagining an existing setup, the choices you make about layout, materials, lighting, and styling will shape how your family uses that space daily. This guide walks you through each decision point, from selecting the right mounting height and wall material to managing cables and layering in accent lighting. You’ll find honest talk about what requires professional help, what you can tackle yourself, and how to avoid the common pitfalls that turn a DIY project into a frustration.
Table of Contents
ToggleKey Takeaways
- Position your TV wall mount at 55–60 inches from the floor to the center screen for optimal eye-level viewing and to avoid neck strain during daily use.
- Choose a living room TV wall material that suits your style—shiplap and wood paneling add warmth, while tile and textured finishes create modern or industrial aesthetics, though professional installation is recommended for tile.
- Plan cable management before mounting the TV by using in-wall conduit, surface-mounted raceways, or wireless solutions to prevent clutter and maintain a polished appearance.
- Install strategic LED backlighting and dimmable recessed downlights to reduce screen glare, ease eye strain, and enhance both viewing experience and room ambiance.
- Balance your TV with intentional styling through floating shelves, console furniture, and negative space rather than filling the wall, so the design feels curated instead of cluttered.
- Always locate wall studs before mounting, measure twice, and consider hiring professionals for electrical work or complex installations to avoid costly mistakes.
Choose the Right TV Wall Layout for Your Space
Before you drill a single hole, measure twice and think about viewing angles. The ideal TV height places the center of the screen at eye level when you’re seated, typically 42 to 60 inches from the floor to the center of the TV. If your sofa sits standard height (18 inches), aim for the 55 to 60-inch range: if it’s a sunken pit or sectional arrangement, adjust down accordingly.
Consider sightlines from every seating position in the room. A TV mounted too high causes neck strain: too low and viewers in the back row get a poor angle. Measure the viewing distance (floor to sofa back) and use a simple rule: your TV diagonal size should be roughly one-third to one-half that distance. A 55-inch TV works well for a 9-foot viewing distance: a 75-inch needs more space.
Layout also depends on wall size and shape. A corner TV mount works for awkwardly proportioned rooms but forces viewers into a slight angle. A centered wall mount feels more intentional and balances the room visually. If your living room has a fireplace, don’t automatically put the TV above it, heat and moisture can damage components, and mounting at two different focal points creates visual chaos. Pick one and build the design around it.
Wall studs matter too. Standard drywall won’t support a TV mount: you need to anchor into wall studs spaced 16 inches apart (or use heavy-duty toggle bolts if studs aren’t available). Use a stud finder, a $15 basic model works fine, and mark stud locations before mounting. If studs don’t align with your ideal TV position, move the TV or consider a different mount style.
Modern Materials That Make Statement TV Walls
Your TV wall material sets the mood for the entire room. Drywall is the baseline, but sheathing it with something purposeful, wood paneling, tile, shiplap, or textured plaster, transforms a blank rectangle into a focal point.
Shiplap and Wood Paneling deliver warmth and texture. Authentic shiplap is milled lumber with interlocking edges: it’s more expensive than it looks and requires moisture control in humid climates (think swelling and warping). Peel-and-stick shiplap alternatives avoid installation headaches but look less authentic up close. Real wood paneling accepts stain or paint and can be refinished: faux versions are glued on and harder to remove without damage.
Tile and Stone offer a contemporary edge. Large-format tiles (24×48 inches or bigger) create a seamless, modern aesthetic with fewer grout lines. Porcelain and engineered stone are durable and easy to clean, crucial if you have pets or kids. Installation requires a professional unless you have serious tiling experience: setting thin-set mortar and keeping grout lines true are not beginner tasks. Expect 15-25% waste and budget for a skilled installer.
Textured Plaster or Concrete finishes suit minimalist and industrial aesthetics. Polished concrete can be applied over existing drywall via a coating system, avoiding full demolition. Venetian plaster requires multiple layers and careful troweling, definitely a job for experienced hands.
Accent Walls and Paint Techniques
If new materials don’t fit your timeline or budget, bold paint is a fast shift. A dark accent wall behind the TV recedes visually and reduces glare on the screen. Deep blues, charcoals, and warm blacks are forgiving: pale pastels compete with your TV. Two coats of a quality, stain-blocking primer plus two coats of finish paint is standard. Cheap paint requires three coats and hides poorly over existing color, invest in mid-range or premium paint that covers in two coats and resists fading.
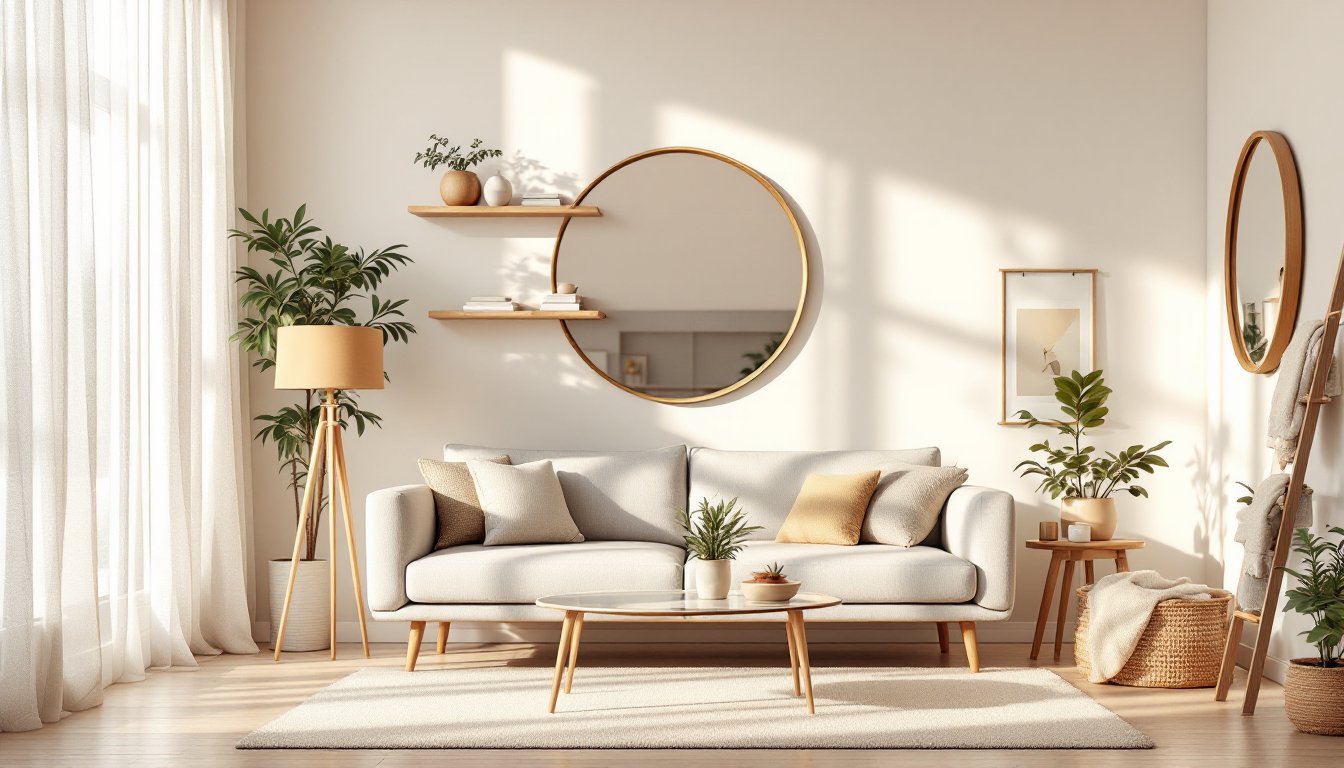
Stripe, chevron, or geometric patterns add interest without full-wall treatments. Painter’s tape and a steady hand (or a laser level for confidence) create clean lines. Matte finishes hide imperfections: semi-gloss or satin bounces light and can look busy behind a backlit screen. Modern design inspiration and contemporary styles often showcase bold accent walls paired with clean furnishings, showing how color works without visual clutter.
Cable Management and Hidden Wiring Solutions
Cables are the unsexy reality of TV walls. Without a plan, you’ll have a rat’s nest of HDMI, power cords, and speaker wire dangling behind your mount. The time to address this is before you mount the TV, not after.
In-wall conduit is the cleanest approach. Buy low-voltage electrical conduit (PVC or metal), run it vertically through a gap in your studs, and feed cables through it from the TV down to a receiver or power strip hidden behind a media console. Check local codes, some jurisdictions require licensed electricians for in-wall work: others allow DIY if you use proper materials and don’t hide receptacles. Avoid mixing power and data cables in the same conduit: electromagnetic interference can degrade picture quality.
Surface-mounted raceways avoid drilling into studs. Plastic wire troughs in black, white, or wood tones run vertically down the wall and tuck behind furniture at the base. They’re visible but less offensive than naked cables, and they’re removable without permanent damage. Paint them to match your wall for a cleaner look.
Wireless solutions reduce clutter but aren’t perfect. Bluetooth speakers, streaming sticks, and wireless HDMI adapters minimize physical connections, but Wi-Fi interference and range limits mean you still need at least a power cord. Invest in a quality surge-protected power strip (with an on/off switch) so you can kill phantom power draw when the TV is off.
Label everything. A small piece of painter’s tape and a pen on each cable end saves hours of troubleshooting later. Before you seal anything behind a wall, photograph your cable layout, future you will thank you.
Lighting Design to Enhance Your TV Wall
Glare on your screen is the enemy of a good viewing experience, and poor lighting around the wall tires eyes fast. Strategic lighting fixes both problems.
Backlighting behind the TV, LED strips running horizontally between the wall and the mount, reduces the contrast between the bright screen and dark wall. This cuts eye strain and actually improves color perception. RGB strips let you match ambient light, while simple 5000K white strips feel clean and modern. Installation is as simple as cleaning the wall surface, peeling backing, and pressing the strip in place. Most strips plug into a wall outlet: hardwired versions should go in before final wall treatment.
Recessed downlights flanking the TV provide functional fill light. Position them 18 inches out from the wall and space them 4-6 feet apart. Dimmable LEDs ($2–5 per bulb) let you adjust brightness for TV watching versus general room use. Install these before drywall goes up if possible: retrofitting through existing drywall means using special recessed light housing that requires careful ceiling work.
Wall sconces add style and focused task light. Mount them 24–30 inches above furniture (end tables, media console) to frame the TV without casting shadows. Hardwired sconces need junction boxes and wiring run through walls, call an electrician unless you’re confident working with live circuits. Battery-powered LED sconces skip the wiring and move easily, but they require battery replacement and don’t deliver the same light quality.
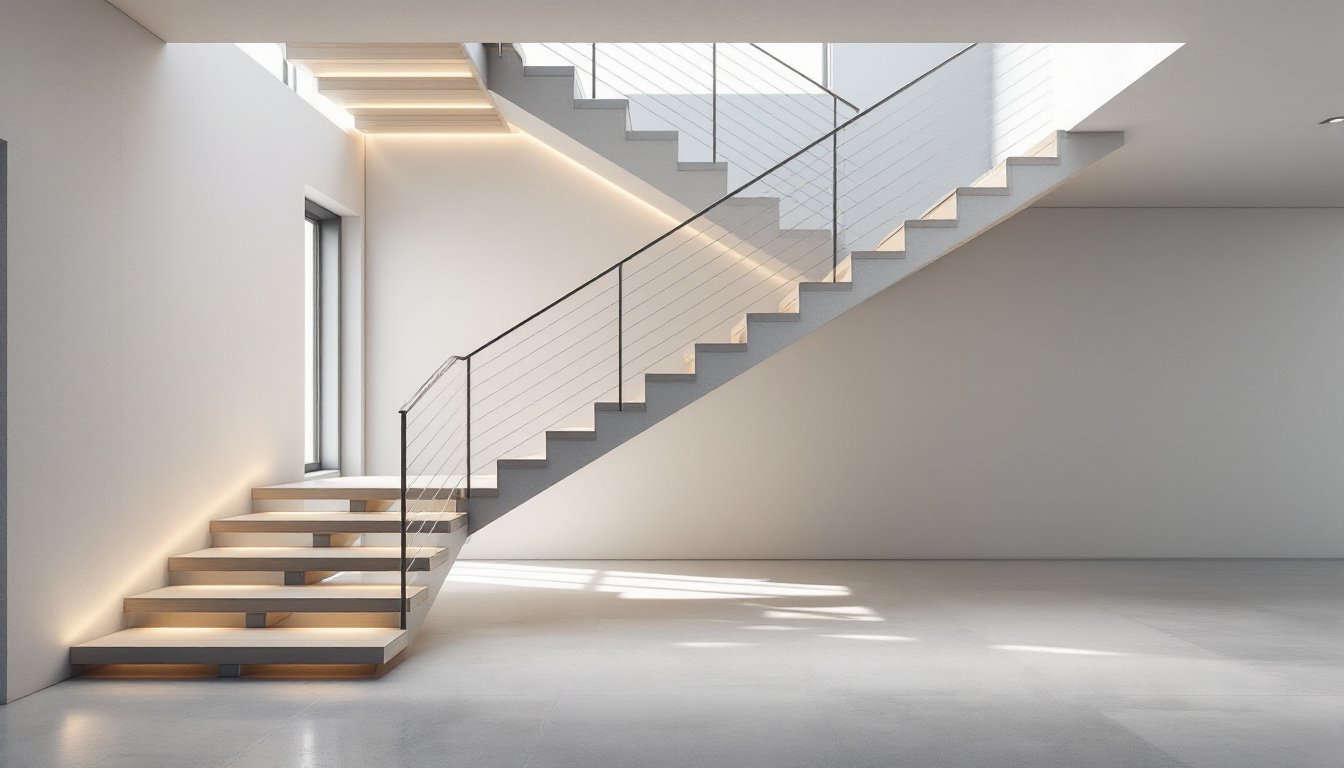
Use warm color temperature (2700K) for evening viewing and cooler tones (4000K or higher) for daytime. Home styling guides and room-by-room design inspiration often emphasize how layered lighting transforms a space from functional to thoughtfully designed.
Styling and Decor Around Your Television
The area around your TV should feel intentional, not like the screen is floating in a void. Add floating shelves, console tables, or built-in cabinetry to create visual weight and practical storage.
Floating shelves (24–36 inches wide, mounted on heavy-duty brackets anchored to studs) display books, plants, or decorative objects. Space them 12–18 inches apart vertically so the wall doesn’t feel cluttered. Keep shelves lightly styled, three to five items per shelf works: more looks chaotic and traps dust. A designer trick: alternate heights, colors, and materials (wood book, ceramic vase, trailing plant) so the eye moves across the wall.
Console or media furniture grounds the TV and provides cable/component storage. Mount it 12–18 inches below the TV if wall-mounted, or sit it on the floor for a grounded feel. Open shelving exposes equipment: closed cabinet doors hide it. Leave air gaps around components so they don’t overheat, and ensure the piece’s width fills at least two-thirds of the wall width, undersized furniture emphasizes the TV’s dominance rather than balancing it.
Negative space is underrated. Blank wall area around a TV mount is not wasted: it gives the eye a place to rest. Interior design ideas and furniture guides often showcase this principle: a centered TV with generous empty space around it feels more curated than wall-to-wall shelving.
Artwork and mirrors placed flanking the TV (or in a small gallery arrangement above a console) add personality and scale. Hang mirrors to reflect light and visually enlarge the room. Use a level and painter’s tape to mark all hanging points before drilling, a straight gallery makes the room feel intentional: crooked art undermines the whole design.
Final touch: frame the TV with a sleek, minimal mount. Budget mounts are visible and clunky: mid-range articulating mounts ($100–300) tilt and pull out if needed, and they look intentional on the wall.
Conclusion
A thoughtfully designed TV wall balances function with style. Start with layout and mounting height, choose materials that fit your home’s character, handle cables before the TV goes up, layer in lighting that reduces glare, and style the surrounding space so the TV feels like part of the room, not its ruler. Take your time on prep work, measure multiple times, locate studs, and plan cable routes before installation. If in-wall electrical or complex carpentry feels outside your skill level, bring in a pro: it costs less than fixing mistakes. Your living room will become a space you and your family actually want to gather in.