
A wet room bathroom strips away barriers between the shower and the rest of the space, creating an open, accessible design that feels larger and more luxurious than a traditional enclosed shower stall. Whether you’re planning a complete bathroom renovation or retrofitting an existing layout, understanding wet room bathroom ideas and design fundamentals is essential. This guide walks you through what makes a wet room work, the structural and waterproofing requirements, and how to avoid costly mistakes during installation. You’ll learn about wet room bathroom layout options, drainage systems, and material choices that keep water where it belongs, and prevent damage to your home’s structure. Let’s get your bathroom project off the ground with confidence.
Table of Contents
ToggleKey Takeaways
- A wet room bathroom merges the shower area with the rest of the floor using a unified drainage system and eliminates barriers for a spacious, accessible design.
- Proper waterproofing using sheet membranes, liquid-applied coatings, or tanking systems is non-negotiable to prevent water damage and structural failure.
- Your wet room bathroom layout should include a sloped floor (typically 1:60 ratio), strategically positioned linear or point drains, and fixtures elevated on legs to allow water flow.
- Using large-format tiles (12 inches or larger) with epoxy-based grout and textured finishes reduces moisture entrapment and improves slip resistance in wet room bathrooms.
- Inadequate waterproofing, incorrect fixture penetrations, underestimated drainage slope, and neglected ventilation are common costly mistakes that compromise wet room durability.
- Consult experienced contractors, invest in quality waterproofing materials, and ensure proper ventilation (50–100 CFM) to create a wet room bathroom that lasts decades.
What Is A Wet Room Bathroom?
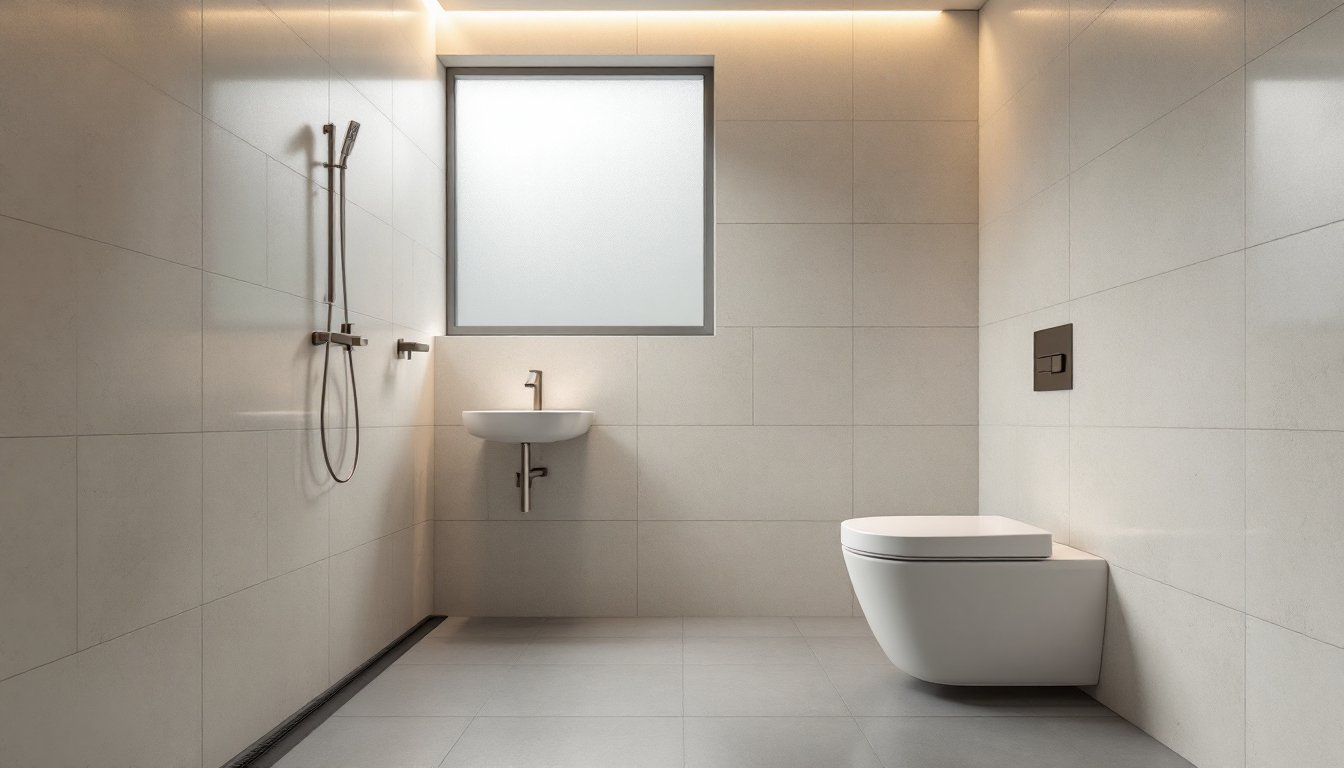
A wet room is a completely waterproofed bathroom where water can safely flow and drain from any point on the floor. Unlike traditional bathrooms with an enclosed shower box or tub enclosure, wet rooms merge the shower area with the rest of the floor using a unified drainage system. The shower head is typically mounted on the wall or ceiling, and water simply flows across the sealed floor to a linear or point drain.
The key difference from standard bathrooms is the absence of a shower door or curb. The entire bathroom floor sits on a slope (usually 1:60 or 1:100 ratio) that directs water toward one or more drains. This design originated in commercial and European residential settings but has become increasingly popular in North American homes seeking a modern, spacious aesthetic. Wet room bathroom designs range from minimalist Scandinavian styles to luxury spa-like environments, the waterproofing approach stays the same regardless of décor.
Key Benefits Of Wet Room Design
Wet room bathroom ideas appeal to homeowners for practical and aesthetic reasons. The open floor plan eliminates visual barriers, making smaller bathrooms feel significantly larger. You gain flexibility in fixture placement, a toilet, sink, or storage can sit anywhere on the waterproofed floor without worrying about water splash.
Accessibility is a major advantage. People with mobility challenges benefit from a curb-free, crutch-friendly layout. Families with young children appreciate the ease of cleanup and the lack of pinch points on shower doors. From a real estate perspective, wet room bathroom designs and modern wet bathroom design choices can increase home value because they signal quality construction and contemporary taste.
Maintenance is straightforward once properly installed. A sealed floor with integral drainage means no grout lines in the shower area to trap mold, and cleaning is as simple as mopping the whole space. The initial investment is higher than a standard shower, but longevity and reduced mold growth offset costs over time.
Essential Waterproofing And Drainage Requirements
Waterproofing is non-negotiable in a wet room. Water will find gaps, settle under tiles, and destroy subfloors and joists if the waterproofing layer fails. Building codes vary by jurisdiction, but most require a complete moisture barrier beneath and around the wet room floor and lower walls.
Waterproofing Materials And Methods
You have several options for waterproofing a wet room bathroom floor plan:
Sheet Membranes: Pre-formed plastic or rubber sheets (typically 1.5mm to 2mm thick) are laid over a prepared subfloor, with seams heat-welded or glued. They’re durable and easy to inspect for damage before tiling. Common products include ethylene propylene diene monomer (EPDM) or polyethylene sheets.
Liquid-Applied Membranes: Poured or rolled waterproofing coatings (polyurethane, epoxy, or acrylic) cure in place and conform to any shape, including corners and pipe penetrations. They require careful surface prep and multiple coats to reach the recommended 2–3mm thickness. These work well for retrofit projects where sheet membranes are difficult to install.
Tanking Systems: Complete prefabricated systems combine a base tray, slope-forming components, and wall liners, essentially a custom-molded basin. They’re foolproof but require exact measurements and professional installation.
Drainage Design: Most residential wet rooms use a linear drain (a long, narrow slot drain) positioned along one wall or across the room’s center. Point drains in the floor work too but require careful slope calculation. Drains must tie into your home’s existing plumbing waste line, often 2-inch or larger PVC pipe. A P-trap prevents sewer odors and gases from backing up.
The subfloor must slope slightly, typically 1:60 (about 1.5 inches drop per 7.5 feet) or steeper, so water doesn’t pool. This slope is achieved with sloped screed (a self-leveling cement layer) poured over the waterproof membrane and subfloor.
Building codes in many jurisdictions require permits for wet room work, especially if you’re modifying waste lines or changing the structural slope of the floor. Check with your local building department before starting.
Planning Your Wet Room Layout And Fixtures
Successful wet room bathroom layout starts with understanding how water moves. The drain location dictates the slope direction, which influences fixture placement and traffic flow. A linear drain running the length of one wall is popular for rectangular bathrooms: it handles water efficiently and looks sleek. If you prefer a centered layout, a point drain in the middle works, but the slope radiates outward, so furniture and fixtures must avoid dead zones where water pools.
Fixture selection matters too. The toilet can sit on the waterproofed floor just like any other space, but its supply and waste lines need proper sealing at the floor penetration. Vanities must be elevated on legs (not on a full base) so water can flow beneath them. Wall-mounted or pedestal sinks work better than cabinet-mounted units in a wet room. The shower itself, whether a rainfall head, wall-mounted arm, or handheld wand, should have a mixing valve and thermostat to prevent scalding.
Floor tile choices are critical. Use large-format tiles (12 inches or bigger) with minimal grout lines, which reduce moisture entrapment. Glazed porcelain or large natural stone tiles resist water absorption. Grout should be epoxy-based or urethane, not standard cement-based grout, because epoxy won’t absorb water or support mold growth. Slip resistance matters, a matte or textured finish is safer than a high-gloss tile when the floor is wet.
Wall materials above the waterproof membrane don’t need the same stringent protection as the floor, but keeping walls waterproofed to a height of 4–6 feet around the room prevents moisture damage. Many builders waterproof entire walls for safety and durability. Cement board or waterboard (not standard drywall) should back any tile or stone in the spray zone.
Common Mistakes To Avoid In Wet Room Installation
Inadequate waterproofing is the number-one failure. Homeowners sometimes skip corners, under vanities, or behind pipes, assuming water won’t reach those spots. Water moves in unexpected directions when pressure builds or if the slope is uneven. Always waterproof the entire floor and walls per code and manufacturer specs.
Underestimating drainage slope or installing a drain that’s too small leads to pooling water and eventual leaks. A 1:60 slope minimum isn’t negotiable. Test the slope during rough-in before tiling to catch problems early. If your existing plumbing can’t handle the waste volume (e.g., a 1.25-inch drain line is too small), you’ll need to upgrade before pouring the screed.
Skipping the moisture barrier under the subfloor is a mistake. Water can wick up from below and damage the joists or subfloor from underneath, even if the top membrane is perfect. This creates invisible rot and structural failure. Modern best practice is a complete vapor barrier under the concrete slab or subfloor.
Poor tile preparation and grouting shortcut durability. Uneven substrate, dirty tiles, or thin-set application can cause tiles to crack or shift, breaking the waterproof seal. Take time to level the floor with self-leveling compound before tile. Use the correct thin-set for wet areas (modified thin-set for most tiles, unmodified for natural stone). Grout sealing after curing provides extra insurance.
Incorrect fixture penetrations are common. Pipes, drains, and fixtures must pass through the waterproof membrane cleanly, with the membrane sealed tight around each penetration. Silicone caulk alone isn’t enough, use waterproof sealant or flashing collars designed for the specific pipe size. Professional bathroom contractors usually handle this: DIYers often underestimate the detail required.
Neglecting ventilation is a trap many miss. A wet room generates significant humidity: without adequate exhaust ventilation, moisture condenses on walls and ceilings outside the waterproofed zone, promoting mold in adjacent areas. Install a dedicated exhaust fan sized for your bathroom (generally 50–100 CFM depending on room size) and run it during and for 15–20 minutes after showers. Some jurisdictions require bathroom ventilation per code.
Conclusion
Building a wet room bathroom requires careful planning, quality materials, and attention to waterproofing details, but the payoff is a modern, accessible, and beautifully functional space. Before committing, research your local building codes, consult with a contractor experienced in wet room installation if you’re not confident in your skill level, and invest in proper waterproofing materials, not the cheapest option. The difference between a successful wet room that lasts decades and a failed one that breeds mold and structural damage comes down to preparation and execution. Start with a clear wet room bathroom floor plan, understand your drainage requirements, and don’t skip the unglamorous, but essential, waterproofing and slope work. Your future self will thank you.