
A walk-in closet isn’t just a luxury, it’s a game-changer for daily living. Whether you’re starting fresh in a new home or renovating an existing bedroom, smart walk-in closet design ideas can turn chaos into calm. The key is understanding your space, your wardrobe, and the practical solutions that fit your lifestyle. This guide walks you through everything from layout assessment to budget-friendly DIY updates, with specific design strategies that work for master bedrooms and guest rooms alike. Let’s build a closet that actually works.
Table of Contents
ToggleKey Takeaways
- Accurate measurements and layout planning—linear, L-shaped, or U-shaped—form the foundation of effective walk-in closet design ideas before purchasing any storage solutions.
- Double-hanging rods with shelving below and vertical storage systems maximize capacity: install upper rods at 81 inches and lower rods at 65 inches for optimal clothing organization.
- Adequate overhead lighting (50+ lumens per square foot) combined with under-shelf LED strips and strategically placed mirrors ensures functionality while creating a calming environment.
- Light, neutral wall colors expand the perception of space and reflect available light, while coordinated hardware finishes and texture add visual interest without overwhelming the closet.
- Budget-friendly updates—paint ($60–80), basic rod and shelf kits ($150–400), and labeled storage bins ($5–40 each)—deliver significant impact before investing in premium built-in solutions.
- Zone-based organization that groups similar items on separate walls and uses pull-out drawers for smaller accessories makes getting dressed faster and restocking intuitive.
Assess Your Space and Layout Options
Before you buy a single shelf or rod, measure and map your closet. Pull out a tape measure, don’t eyeball it. Note the length, width, and height of your walls, including the position of doors, windows, and any structural elements like studs or HVAC vents. Check ceiling height too: some walk-in closets have dropped ceilings that limit hanging space.
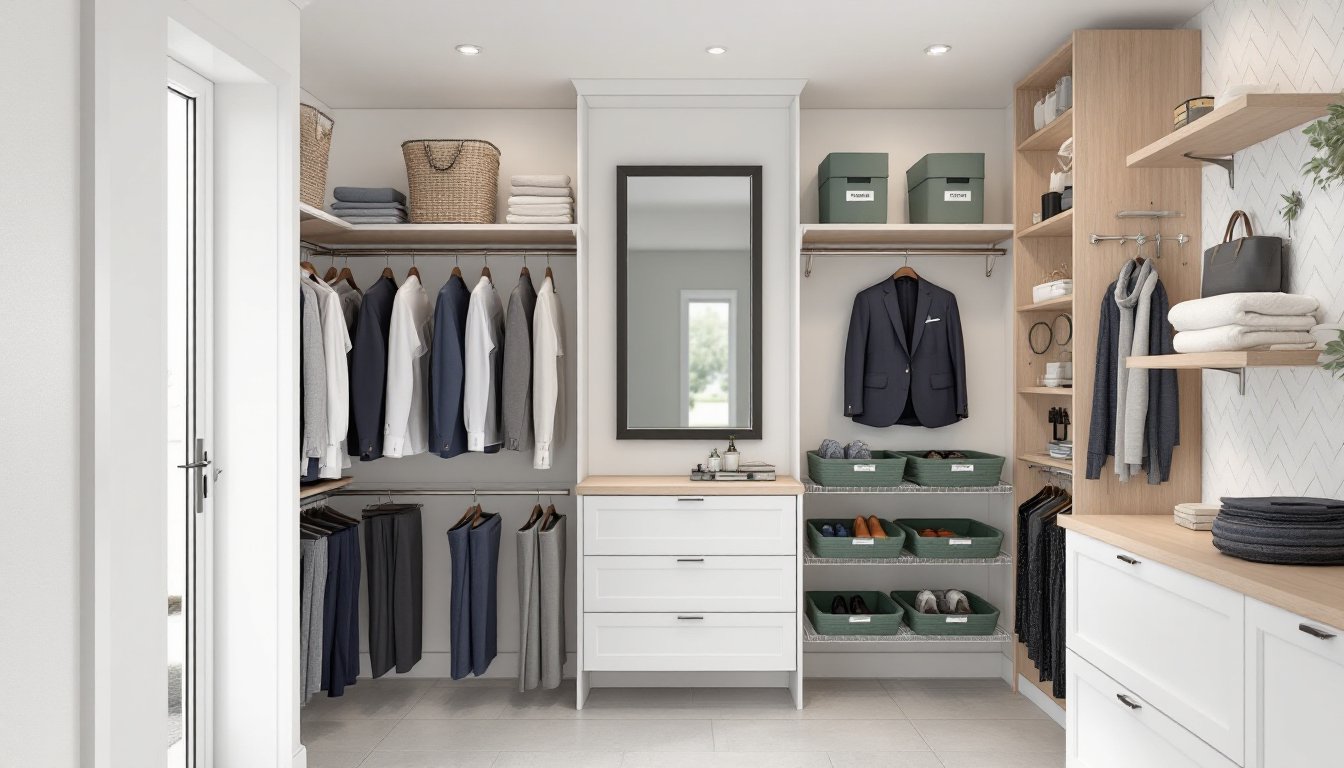
There are three common layouts: linear (single wall), L-shaped, and U-shaped. A linear layout works for narrow spaces and typically runs the length of one wall. L-shaped closets use two walls, creating natural zones for hanging and shelving. U-shaped designs maximize storage by using three walls and work best in larger master bedroom walk-in closet ideas where you can dedicate significant square footage.
Drawing a rough floor plan on paper or using a simple phone sketching app helps you visualize placement before committing. Include the swing of the door and any reach limitations, you don’t want shelving so high that you need a step stool every time. Building codes don’t regulate closet layouts, but the IRC (International Residential Code) specifies that closets need adequate clearance for opening doors and safe egress pathways, especially for bedrooms.
Maximize Storage With Smart Shelving and Hanging Solutions
Storage density wins in closet design. The goal is fitting more into the same footprint without making it feel cramped or unsafe.
Hanging solutions come in two types: double-hanging rods (one above the other) and single rods with shelf space below. A standard rod height is 65 inches from the floor for a single hang, and 81 inches for the upper rod in a double-hang setup. This leaves roughly 36 inches between rods, tight for full-length dresses but ideal for shirts, blazers, and pants folded over hangers.
Wire shelving is the workhorse of closet organization. It’s adjustable, affordable, and doesn’t require advanced carpentry. Install it using wall anchors into studs (use lag bolts into studs, not drywall anchors alone, weight matters). Standard shelf depth is 12 to 16 inches: 16-inch shelves are sturdier for heavier items like folded sweaters or shoe boxes.
Vertical Storage and Wall Utilization
Vertical space is wasted space if ignored. Stack storage above hanging sections, below rods, or on the upper walls. Tall built-in shelving units that reach 84 inches or higher (just below the ceiling) capture dead space without blocking sight lines.
A pegboard or slat wall system adds flexibility. Mount a 1/2-inch plywood backing to the studs, then attach pegboard or wooden slats. Hooks and bins snap on for shoes, belts, scarves, and accessories. Real Simple’s organizational guides emphasize zone-based storage, group similar items and give each section a home. Shoes on one wall, folded items on another, hanging clothes on a third. This mental mapping makes getting dressed faster and restocking intuitive.
Consider pull-out baskets or drawers for items you don’t hang: underwear, socks, accessories. A 24-inch-wide pull-out drawer fits standard closet rods perfectly. Depth should be 18 to 24 inches so you can reach everything without twisting.
Lighting and Mirrors for Functionality and Style
Poor lighting in a closet defeats the purpose of having one. You can’t match colors or see details if you’re working in shadows. Overhead fixture brightness should be at least 50 lumens per square foot for adequate task lighting, that’s roughly a 60-watt incandescent equivalent or 8-12 watts LED for a small 50-square-foot closet.
Recessed ceiling lights spaced 4-5 feet apart provide even coverage. If your closet has a dropped ceiling, stick with flush-mount fixtures to avoid bumping your head. Under-shelf LED strip lighting adds accent light and makes items easier to see: it also looks clean and modern. Strip lights are low-heat, long-lasting, and usually plug into a standard outlet near the baseboard.
Mirrors aren’t just aesthetic, they’re functional. A full-length mirror on the back of the door or on one wall lets you see your outfit before leaving. Install mirrors at 48 inches from the center point to eye level (standard mounting height for 36-inch mirrors). Avoid placing mirrors opposite each other or directly across bright lights: that creates disorienting reflections and can strain eyes when selecting clothes.
Color Schemes and Design Aesthetics
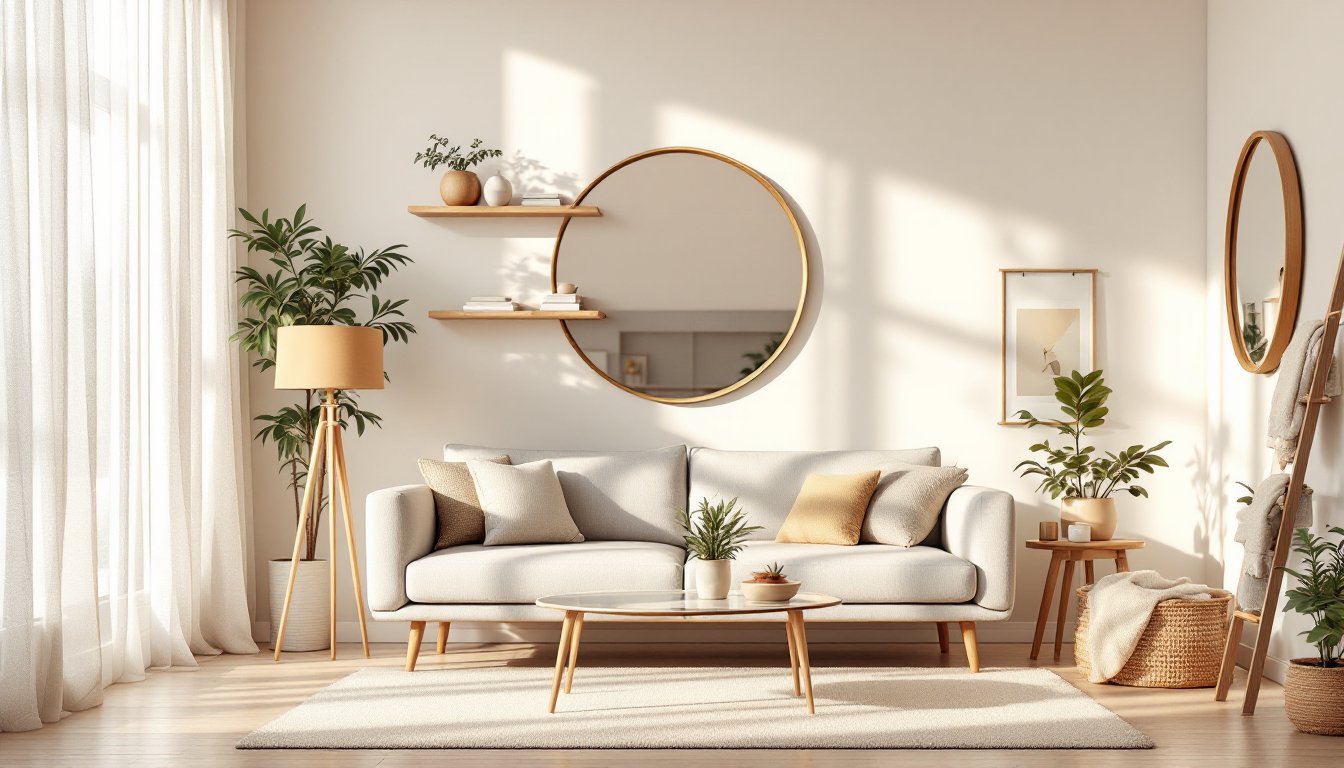
Color in a closet serves two jobs: making the space feel larger and creating a calming environment where you actually want to spend time getting ready.
Light, neutral walls, soft whites, warm grays, or pale beiges, expand the perception of space and reflect available light. Dark walls absorb light and make small closets feel cramped. If you’re painting, use a low-VOC (volatile organic compound) primer and two coats of semi-gloss or satin finish paint: satin washes easier and hides imperfections better than flat. Plan for 2-3 hours drying between coats.
Accent colors work on one wall or via your storage bins and baskets. Navy, sage green, or charcoal gray bins add personality without overwhelming. Coordinate hardware finishes, brushed nickel or matte black handles and rod brackets create cohesion.
Texture matters too. A herringbone or shiplap accent wall adds visual interest and hides wall imperfections. Installing shiplap requires careful measurement and a miter saw for clean 45-degree cuts: if you’re new to power tools, Homedit‘s interior design guides walk through similar projects step-by-step. Wood grain, whether from real shiplap or MDF (medium-density fiberboard) painted to look like wood, softens hard shelving lines and pairs well with metal rods and hardware.
Budget-Friendly DIY Updates
You don’t need five-figure built-in closets to get a functional, attractive walk-in. Here’s what delivers the most impact per dollar.
Simple rod and shelf installation runs $150–400 for a standard 8-foot closet. A basic closet rod kit (rod, brackets, and hardware) costs $30–60. Wall-mounted shelving systems range from $40 (basic wire shelving and clips) to $200 (adjustable wood shelves on metal standards). Buy what fits your wall width and depth: most hardware stores stock 12, 14, and 16-inch depths.
Paint refresh is the cheapest upgrade. Two gallons of quality latex paint and primer cost $60–80 and cover roughly 600 square feet. Prep by cleaning walls, patching holes with joint compound (let dry per manufacturer specs, usually 2–4 hours), and sanding smooth. Tape trim and apply two coats, allowing full cure time (24 hours for latex) before moving items back.
Affordable storage containers matter. Plastic bins run $5–15 each and stack neatly on shelves. Label them clearly, a label maker is $20–30 and saves guessing games. Woven baskets ($15–40 each) add warmth and hide clutter while remaining accessible.
DIY mirror installation takes one afternoon. A 36×48-inch framed mirror costs $40–80. Use wall anchors rated for the mirror’s weight: never rely on drywall alone. Locate studs with a stud finder ($15) and use lag bolts for heavy mirrors, or heavy-duty toggle anchors if studs don’t align with your desired placement.
Start with these basics before investing in premium hardware or custom cabinetry. Once you’ve lived with your layout for a few months, you’ll know what upgrades are worth the cost.
Conclusion
A well-designed walk-in closet comes down to three things: honest assessment of your space, smart use of vertical storage, and finishing touches that make the room functional and pleasant. Whether your master bedroom walk-in closet ideas lean minimal and modern or warm and inviting, the principles stay the same, measure twice, plan the layout, and invest in storage that matches your lifestyle. The payoff is a closet you enjoy using every single day.